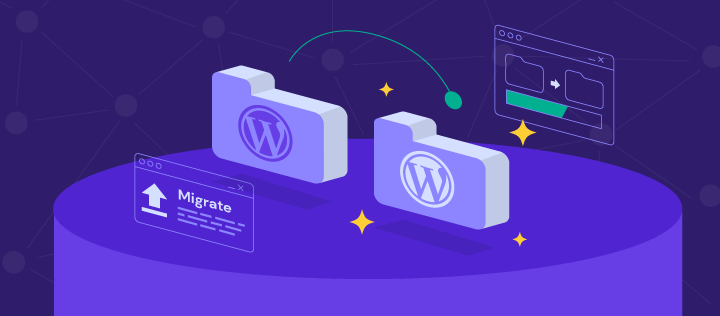
How to Migrate Your Website to a New Hosting Provider: Step-by-Step Guide
Migrating your website to a new hosting provider can seem like a daunting task, but with careful planning and execution, it can be a smooth and seamless process. Whether you’re looking for better performance, improved customer support, or simply a change of scenery, moving your website to a new hosting provider can help you achieve your goals. In this step-by-step guide, we’ll walk you through the process of migrating your website to a new hosting provider, from planning and preparation to the final steps of DNS propagation.
Step 1: Choose a New Hosting Provider
Before you can begin the migration process, you’ll need to choose a new hosting provider that meets your needs and requirements. Consider factors such as server performance, uptime reliability, customer support quality, pricing plans, and additional features offered. Research different hosting providers, read reviews, and compare hosting plans to find the best fit for your website.
Step 2: Back Up Your Website Files and Database
Before making any changes or modifications to your website, it’s essential to create a complete backup of your website files and database. This ensures that you have a copy of your website’s data in case anything goes wrong during the migration process. Most hosting control panels offer built-in backup tools, or you can use a WordPress backup plugin to create a backup of your website files and database.
Step 3: Set Up Your New Hosting Account
Once you’ve chosen a new hosting provider, sign up for a hosting account and set up your hosting environment. This may involve purchasing a new domain name, selecting a hosting plan, and configuring your server settings. Some hosting providers offer free migration services as part of their hosting packages, so be sure to inquire about any migration assistance available.
Step 4: Upload Your Website Files
With your new hosting account set up, it’s time to upload your website files to the new server. You can do this using an FTP (File Transfer Protocol) client or through your hosting control panel’s file manager. Transfer all of your website files, including HTML, CSS, JavaScript, images, and any other assets, to the appropriate directories on your new server.
Step 5: Import Your Database
If your website relies on a database, such as MySQL or MariaDB, you’ll need to export your database from your old hosting provider and import it into your new hosting account. Use phpMyAdmin or a similar database management tool to export your database as a SQL file, then import it into your new hosting account using the same tool. Be sure to update your website’s configuration files with the new database credentials to ensure proper connectivity.
Step 6: Test Your Website
Once your website files and database have been transferred to the new server, it’s time to test your website to ensure everything is working correctly. Visit your website using its domain name or IP address to verify that all pages load properly, links are functional, and any dynamic content or database-driven features are functioning as expected. Use this opportunity to identify and address any issues or discrepancies that may arise during the migration process.
Step 7: Update DNS Settings
Before making your new website live, you’ll need to update your domain name’s DNS (Domain Name System) settings to point to your new hosting provider’s servers. Log in to your domain registrar’s control panel and update the nameservers to reflect those provided by your new hosting provider. DNS propagation can take anywhere from a few hours to 48 hours to complete, so be patient while waiting for the changes to take effect.
Step 8: Monitor and Troubleshoot
After updating your DNS settings, monitor your website closely to ensure that the migration process has been completed successfully. Check for any errors or issues that may arise, such as broken links, missing files, or database connection errors, and troubleshoot them as needed. Monitor your website’s performance, uptime, and functionality to ensure that everything is running smoothly on the new hosting environment.
Migrating your website to a new hosting provider may seem like a daunting task, but with careful planning and execution, it can be a relatively straightforward process. By following this step-by-step guide, you can ensure a smooth and seamless transition to your new hosting environment, allowing you to enjoy improved performance, reliability, and support for your website. Remember to back up your website files and database, choose a reputable hosting provider, upload your website files, import your database, test your website thoroughly, update your DNS settings, and monitor your website closely throughout the migration process. With proper preparation and attention to detail, you can successfully migrate your website to a new hosting provider with minimal downtime and disruption to your online presence.